I’m mostly pleased with the EufyMake Studio software. If you aren’t already comfortable working in Photoshop or other image-editing software, you’ll want to spend a bit of time getting to know how layers and transparency work, as well as brushing up on dots per inch (dpi) and image types, assuming you’re going to print custom items. There’s a bit of trial and error involved in getting factors correct each time you change materials, but the presets for each are a good starting point. If you, like me, do have familiarity with editing software, you’ll find the interface intuitive. I haven’t run into any issues selecting and modifying multiple layers, adjusting opacity and print settings, or uploading my own imagery.

Photograph: Brad Bourque
If you’re not working from your own custom images, you can print straight from the shared content section of the app, which is divided into two sections: Projects and Designs. In the Projects tab, other E1 users upload photos of the items they’ve created, including custom keyboard keycaps, photo displays, keychains, and jewelry. It’s easy to grab a design from this tab and customize it with your own photos and graphics. Every time I scroll this tab, I see ways to use the E1 that I’d never considered. The Designs tab has some useful templates, but it’s also kind of clogged with random AI-generated junk. For instance, whenever I tried to find a background pattern or text banner here, I’d find renderings of three popular video game characters trapped inside of plastic bags, prominently displayed on the front page. Also, the designs aren’t always practical or customizable.
E1 creations are impressive, given the machine’s small footprint at 23 x 10 x 16 inches. You’d never know the mug or coaster you’re holding comes from someone’s basement and not a factory. The printer works best when using clean, punchy graphics. For the sake of testing, I designed a logo for a nonexistent company and printed it on a coaster. Even though the image was just some circles and text on a transparent PNG file, the resulting print, complete with clean borders and raised text, felt like something you’d get from a store, not my own office. The extra layers provide a proper depth and smooth touch that results in polished-feeling products.
Photos came out super detailed and crisp too, thanks to the 1,440 dpi and strong color blending. Although, combining textures and your own photos will require a bit of massaging in the app settings or tinkering with masks.
The Setup

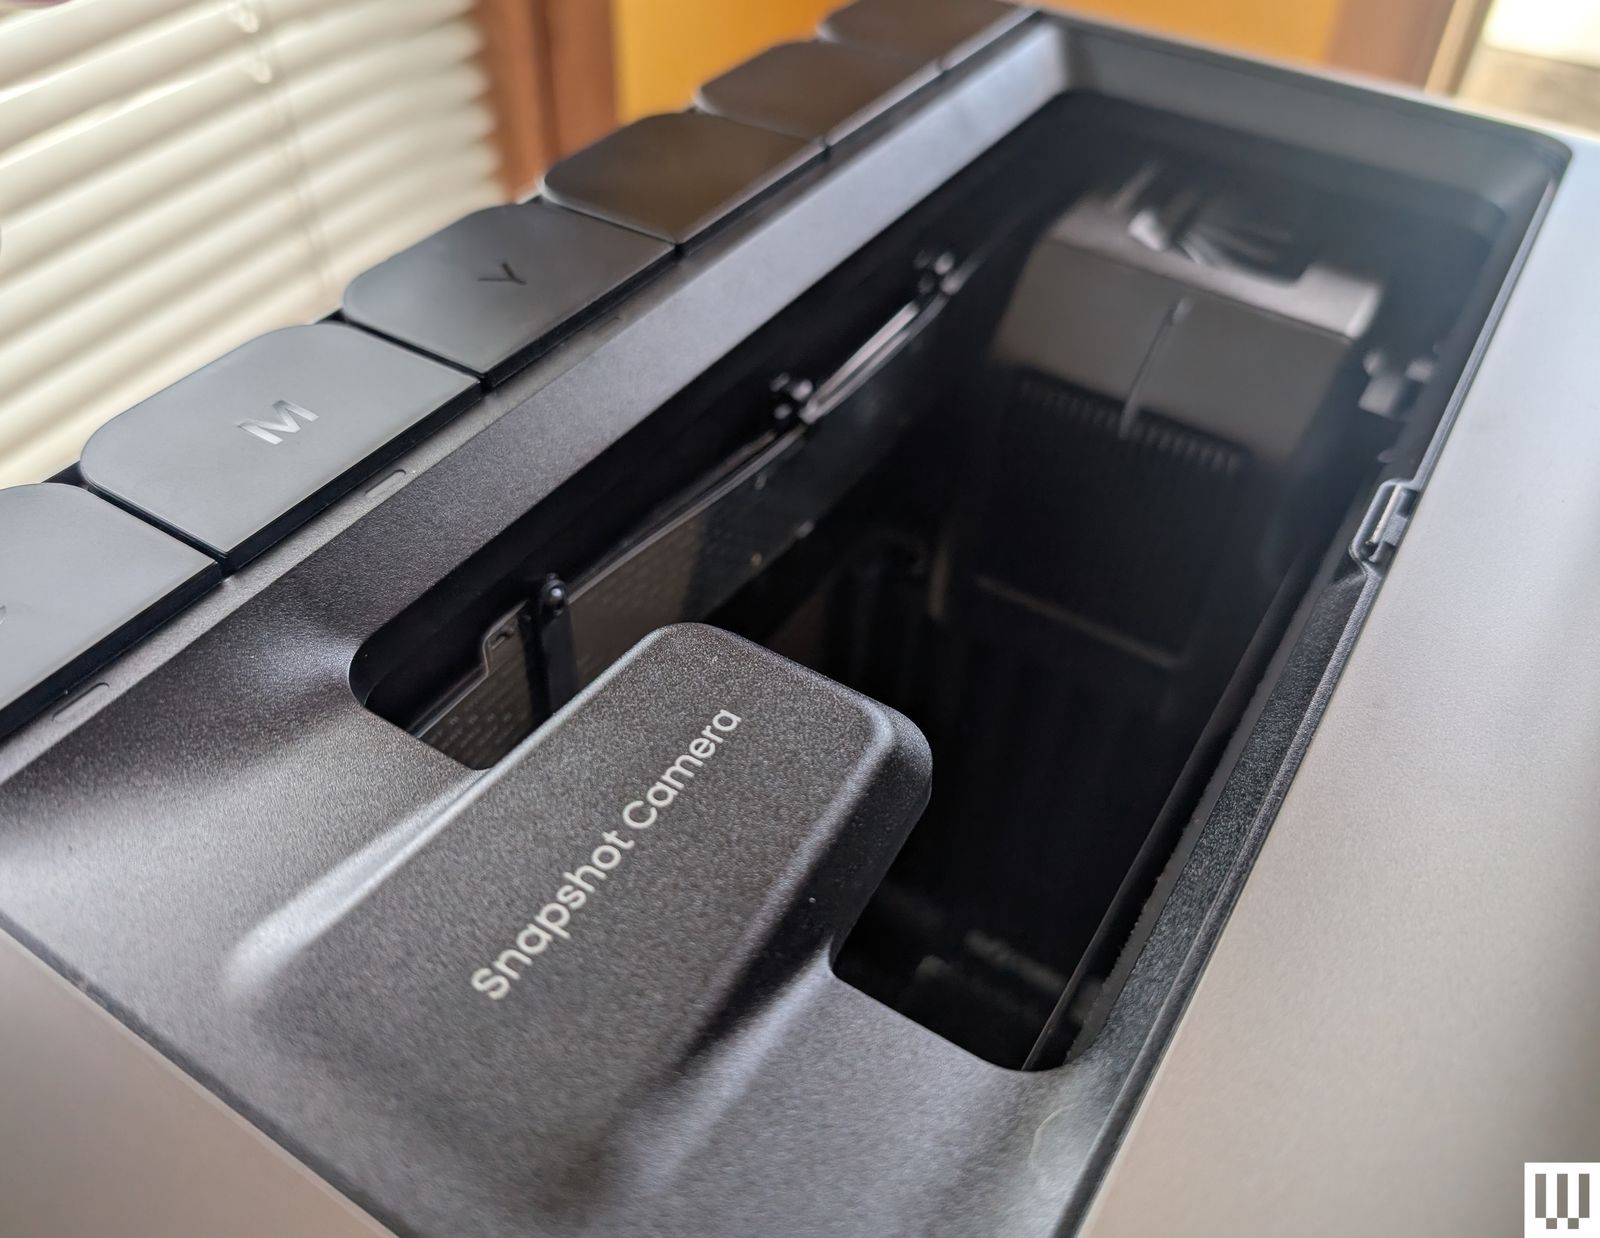
Photograph: Brad Bourque
There are a number of considerations that make using the E1 more complex than a 2D or even 3D printer. To start, you’ll want to situate the machine in a secluded area. While Anker assured me that the E1 is “perfectly safe to walk by while the printer is running,” I was also advised to wear the included blue-light-reduction glasses if actively watching the printing process. To play it safe, you’d probably want to keep kids and pets away from the area while printing.